Getting Started
Install Django Task API
Install the Python library with pip:
$ pip install django-task-api
Django Task API is compatible and tested with Python versions 3.6 through 3.9, and with Django versions 2.2, 3.1, and 3.2.
Set up Celery
By default, Django Task API uses Celery to manage background tasks. If you’re not already using Celery, follow the First steps with Django document to configure Celery for your project.
Create a task
Create a module in your Django app called background.py and add a task class to it:
from time import sleep

from task_api.params import IntParameter
from task_api.tasks import Task

class WaitTask(Task):
    name = 'wait'

    inputs = {
        'seconds': IntParameter(required=False)
    }

    def run(seconds=10):
        self.set_target(10)
        self.set_progress(0)

        for _ in range(seconds):
            sleep(1)
            self.inc_progress(1)
The WaitTask task accepts an integer value and counts toward that number, one second at a time. Since it updates its
progress, we’ll be able to monitor it from the front-end.
Configure settings & URLS
Edit settings.py, add the task_api app, and add tasks to TASK_API_BACKGROUND_TASKS.
INSTALLED_APPS += [
    'task_api'
]

TASK_API_BACKGROUND_TASKS = ['myapp.background.WaitTask']
With the app added to settings, run Django’s migrate command:
$ python manage.py migrate
We’ll also need a URL route to the task API:
from django.conf.urls import url
from django.urls import include

urlpatterns = [
    url('^', include('task_api.urls'))
]
Add front-end Java Script
Django Task API includes a JS API for starting and monitoring background tasks. If you’re using Django to manage your
static files, then you can include the library using the {% static %} template tag. You can also install the
JavaScript library from npm. For purposes of this walk through, let’s create a template with some simple HTML and
JavaScript to start and monitor a task:
{% load static %}

<!DOCTYPE html>
<html lang="en">
<head>
    <meta charset="UTF-8">
    <title>Task API Example</title>

    <script src="{% static "django-task-api.min.js" %}"></script>
    <script type="text/javascript">
        function startTask() {
            TaskAPI.run('wait', {'seconds': 10}, function(json) {
                if (json.target === null || json.progress === null) {
                    return
                }
                document.getElementById('status').innerHTML = 'Progress: ' + json.progress + ' / ' + json.target
            }).then(function() {
                document.getElementById('button').disabled = false
            })

            document.getElementById('button').disabled = true
        }
    </script>
    <style type="text/css">
        .content {
            position: fixed;
            top: 25%;
            left: 50%;
            transform: translate(-50%, -50%);
        }

        .content button {
            margin-top: 5px;
            width: 100px;
        }

        .center {
            text-align: center;
        }
    </style>
</head>
<body>
    <div class="content">
        <div id="status">Click "Run" to start the task.</div>
        <div class="center"><button onclick="startTask()" id="button">Run</button></div>
    </div>
</body>
</html>
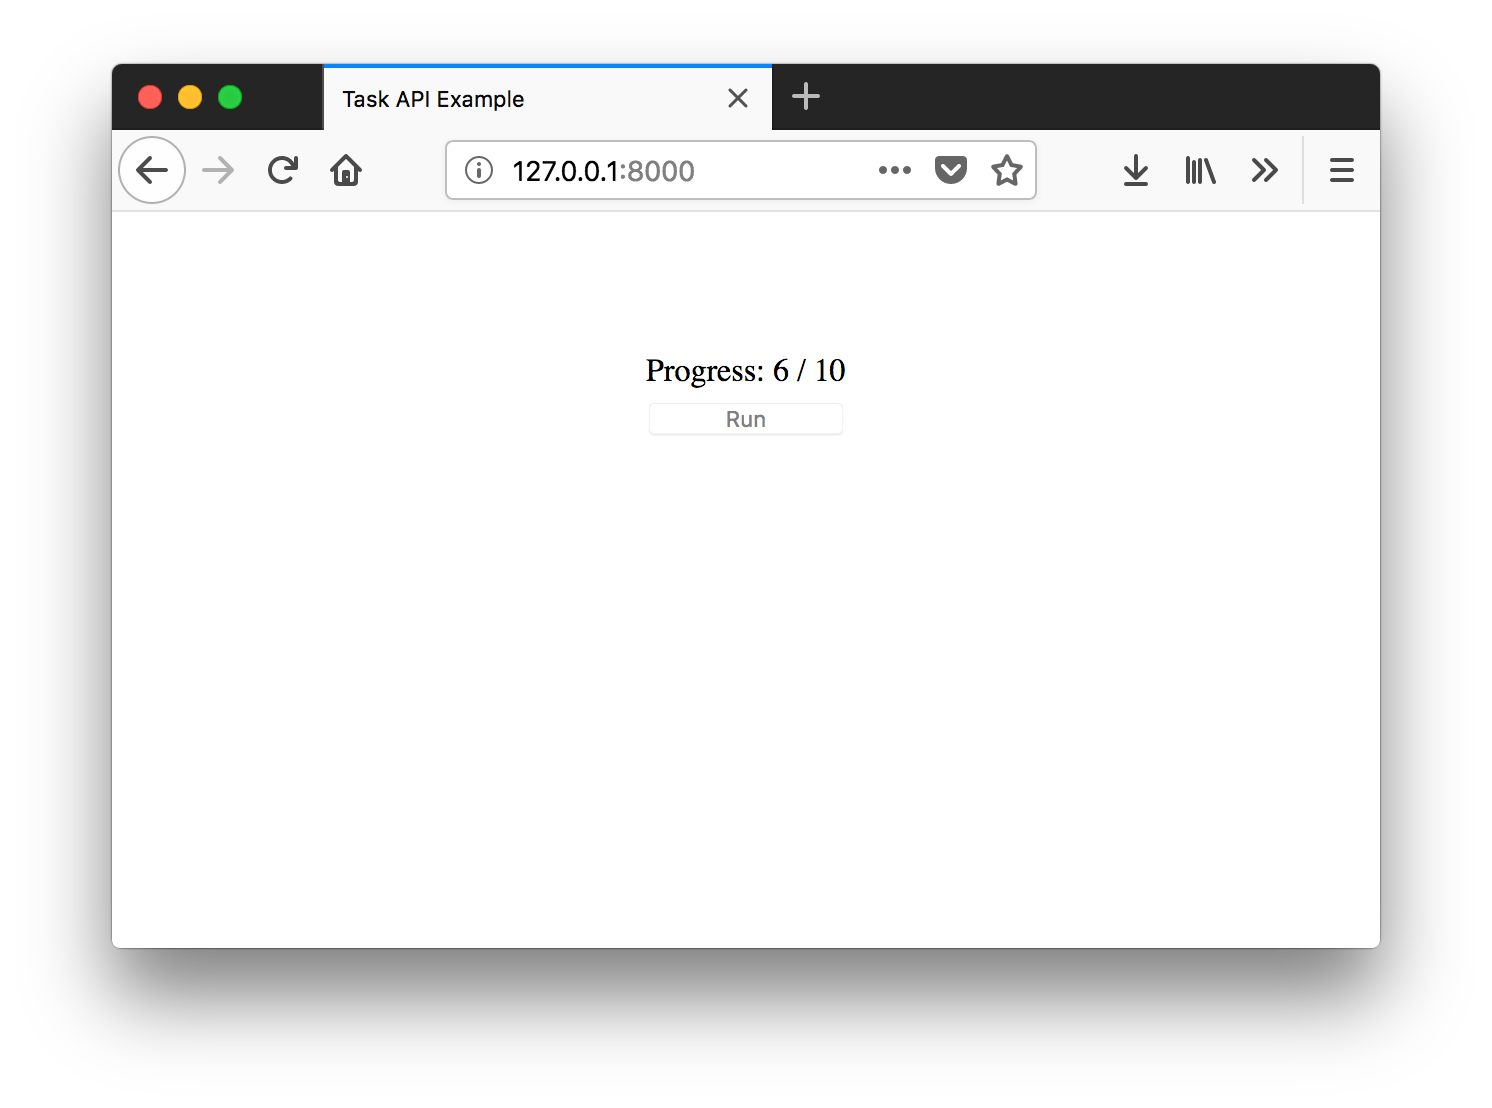
This gives the user a “Run” button, which when clicked, starts the task defined earlier. As the task counts towards its target, the UI updates to show the current progress.
To finish everything out, we need to add a URL route for this template:
from django.conf.urls import url
from django.urls import include
from django.views.generic import TemplateView

url_patterns = [
    # ... other URL patterns
    url('^$', TemplateView.as_view(template_name='example.html'))
]
If you haven’t already, add your app to your project urls.py file:
from django.conf.urls import url
from django.urls import include

urlpatterns = [
    url('^', include('task_api.urls')),
    url('^myapp', include('myapp.urls'))
]
Try it out
Your new task should be ready to go. Make sure that the Django debug server and Celery worker process are both running, then open the page in your browser. Click “Run” and watch your task progress.
